VS Code & Cursor Plugin
Continue a local coding conversation on a chat.dev machine and keep the project mirrored in both directions.
The chat.dev Remote Agents plugin makes a local VS Code or Cursor project available on a chat.dev machine without starting the coding conversation over. The editor, browser workspace, and remote coding harness work against the same files and session history.
Download the latest release or view the extension on GitHub.
What it does#
- Continues local Codex, Claude Code, and Cursor conversations as sessions on one chat.dev agent.
- Mirrors project files in both directions between the local editor and the cloud workspace.
- Opens an existing chat.dev agent as a VS Code or Cursor project.
- Lets each session keep its own harness and model while sharing the agent's machine and files.
- Makes chat.dev models available in VS Code Chat.
- Lets you choose the destination machine, disk, model, budget, starting instructions, and provider-login behavior while continuing a project.
Install#
- Open the latest release.
- Download the
chatdev-remote-<version>.vsixfile under Assets. - Open VS Code or Cursor and open Extensions from the four-square icon in the left activity bar. The shortcut is
Ctrl+Shift+Xon Windows/Linux orCmd+Shift+Xon macOS. - Drag the downloaded
.vsixfile into the Extensions panel. - Reload the editor if it asks.
After installation, click the chat.dev icon in the editor's activity bar and use the visible Sign in button.
Continue a local project#
- Open the local folder where you have been working with Cursor, Codex, or Claude Code.
- Open the chat.dev panel and click Continue.
- Choose the conversation that should be the Default session.
- Choose the agent name, machine, disk, model, budget, instructions, and what to do with detected provider logins.
- Click Create New Agent.
The agent page opens immediately. Conversation setup finishes first; project files keep transferring in the background and become available individually. You can keep working while large files copy.
In Cursor, the selected chat.dev session is available through the native Agent panel. In VS Code, Agent opens the selected remote coding CLI. The separate Terminal action opens the real harness terminal when you want direct CLI access.
Open a cloud agent#
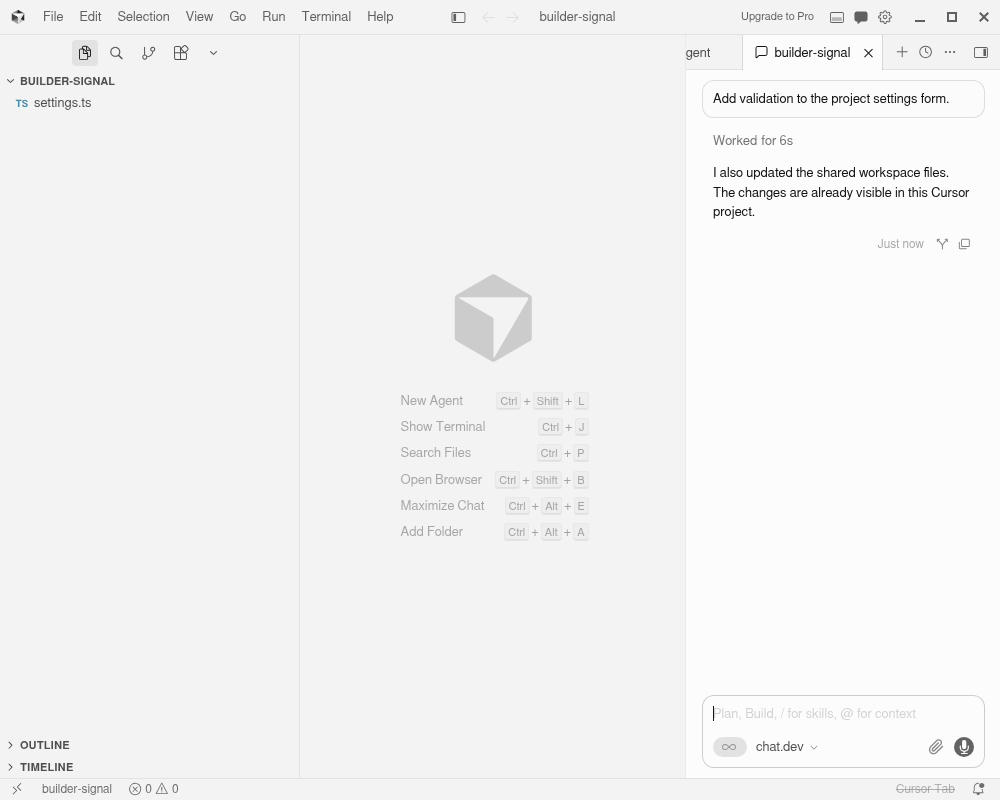
Click Open in the chat.dev panel. A browser picker lists your chat.dev agents. Choose one and the editor opens that agent's remote filesystem as the current project, using the agent name instead of / as the workspace name.
From that workspace you can edit files, open a session in Cursor's Agent panel, open the harness terminal, or use a shell on the same machine.
How project sync works#
When you create the agent, the plugin first records a complete, timestamped list of expected files, directories, and portable symlinks. File contents then transfer independently:
- a completed file is immediately usable on chat.dev;
- a file still transferring has a temporary
.chatdev-downloadingsibling; .chatdev-sync-manifest.jsonlists the project objects expected from the original snapshot;.chatdev-sync-status.jsonreports current transfer progress;- later edits flow in either direction through a durable per-path journal;
- editor and agent restarts resume incomplete work.
Conversation history is session-specific. A local conversation keeps its imported history, and later prompts and answers continue on the matching chat.dev session.
VS Code Chat models#
In VS Code Chat, open the model picker and choose a model under chat.dev. The plugin lists models available through the chat.dev account and streams the answer through the normal VS Code Chat interface. You can also type @chatdev for a request that should use chat.dev.
VS Code Chat sessions remain normal VS Code Chat history. Continue is for coding-agent conversations created by Codex, Claude Code, or Cursor.
For screenshots, troubleshooting, shortcuts, and update instructions, see the complete extension guide on GitHub.